2.1. Installation and execution on Windows OS
2.1.1. Installation on Windows OS
If you have an older version of PHITS, please make a backup of your edited files and install the new version in the same folder (overwrite installation is recommended). During the installation, only the address file (
xsdir.jnd) can be selected to be overwritten or not, and if overwritten, a backup of the old file is automatically created.Double-click
phits_win_setup.exein thewinfolder of the PHITS package.Specify the installation folder (
c:/phitsis recommended).Select the required software. We encourage you to select New Installation if you are installing PHITS for the first time on your PC, or PHITS Upgrade if you are updating the software (see Recommended software below).
Installation is finished.
To check whether PHITS has been installed properly, right-click
/phits/lecture/basic/lec01/lec01.inpand selectsend to→PHITS.Check whether
xz_track_all.epsis created or not.
(Note) The names of the installation files and folders must contain no space characters; otherwise installation and execution will fail.
The installer phits_win_setup.exe performs the following processes:
If an editor is selected for installation, install that editor and associate it with
*.inpand*.outfiles. Also, modify the configuration file so that PHITS and PHIG-3D can be executed directly from that editor.If Ghostscript is selected, run the Ghostscript installer.
If SumatraPDF is selected, run the SumatraPDF installer.
Install Visual C++ Redistributable Package required to run PHIG-3D.
Extract
phits.7zto the specified installation folder.Add the folder
phits/bin(which contains the PHITS executable files) to the user environment variablePATH.Add the environment variable PHITSPATH (this eliminates the need to specify file(1) in the input file).
Create shortcuts of four batch files -
phits.bat,angel.bat, andphig3d.batin thephits/binfolder, anddchain.batin thephits/dchain-sp/binfolder - to thesendtofolder.Copy
app/7za.exeto thephits/binfolder for preparing the installation of JENDL-5.
2.1.2. Execution on Windows OS
The PHITS code can be executed either via File Explorer (previously known as Windows Explorer) using send to → PHITS or via Command Prompt.
2.1.2.1. Executing PHITS via the Windows send to Function
Right-click the PHITS input file in File Explorer and select send to → PHITS.
As the shortcut for phits.bat in the phits/bin folder has been created during installation,
the PHITS code will be initiated and start simulations.
2.1.2.2. Executing PHITS from the Command Line
PHITS can be executed by command lines in Command Prompt (also known as cmd.exe or cmd),
the command-line interpreter on Windows operating systems as shown in Fig. 2.1.1.
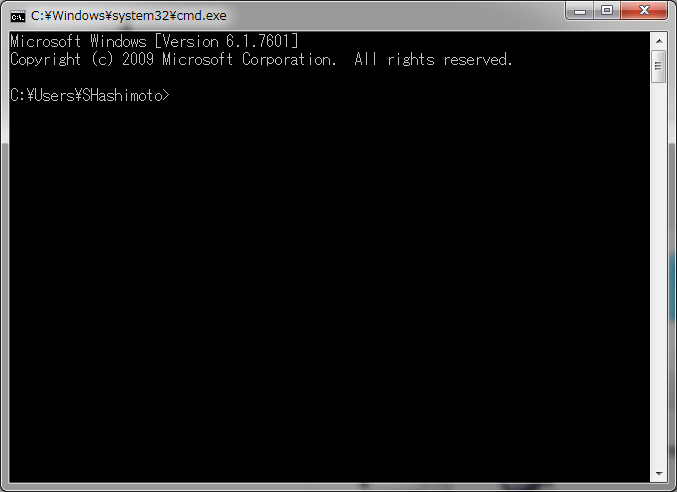
Fig. 2.1.1 Example of how to execute PHITS via Command Prompt.
To execute PHITS, use the cd command to go to the
directory of where the input is, and then type the following
commands in the terminal:
phits.bat phits.inp
where phits.inp is your input file name (e.g., lec01.inp).
As command histories can be retrieved by pressing the ↑ key in the terminal,
it is convenient to use the same input file name when you want to repeatedly execute PHITS.
2.1.3. Recommended software
There is no software that needs to be pre-installed before using PHITS. Nevertheless, it is recommended to install a text editor that can display line numbers, as the line number is specified when an error occurs in the PHITS input file. Furthermore, installation of Ghostscript and SumatraPDF is necessary to display image files created by PHITS, which are written in EPS format.
Free text editors for Windows:
Notepad++ (https://notepad-plus-plus.org/)
For details of the installation of Ghostscript and SumatraPDF, see the following web pages:
Ghostscript (https://www.ghostscript.com/releases/gsdnld.html)
SumatraPDF (https://www.sumatrapdfreader.org/free-pdf-reader)
Please install this software after installation of Ghostscript.